
Over this long weekend, we spent a little time relaxing and visiting with friends which was really great. We also took advantage of the extra day off work to begin work on our latest project at the farm/studio – a mud oven (sometimes called a cob oven). My husband bakes amazing breads and is looking forward to baking in this primitive oven.
Kevin actually began the project last weekend by building a base for the oven. The base is on casters so we can move it around the kiln shed and tuck it out of the way while it’s not in use.
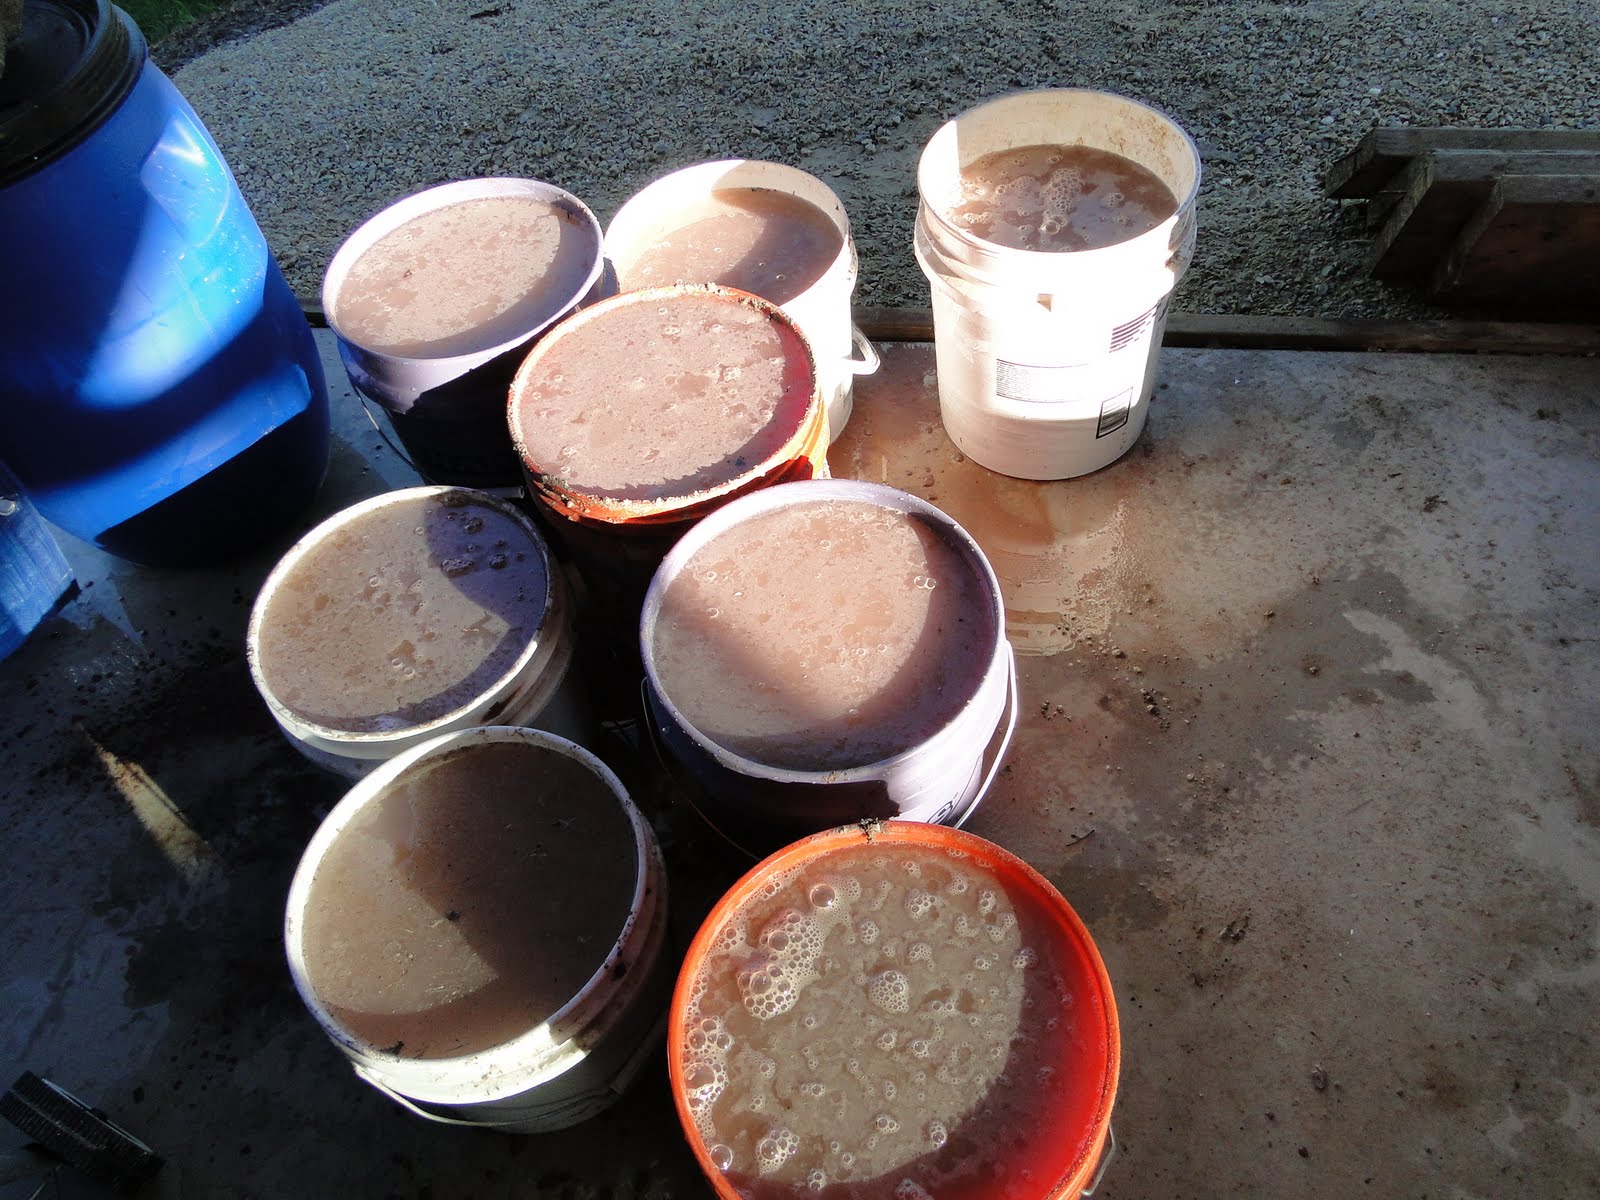
With the base completed, this weekend we began with construction of the oven by soaking a hundred pounds of clay shavings left over from trimming my pottery in buckets of water to rehydrate the clay to be used in the inner layer of the oven.
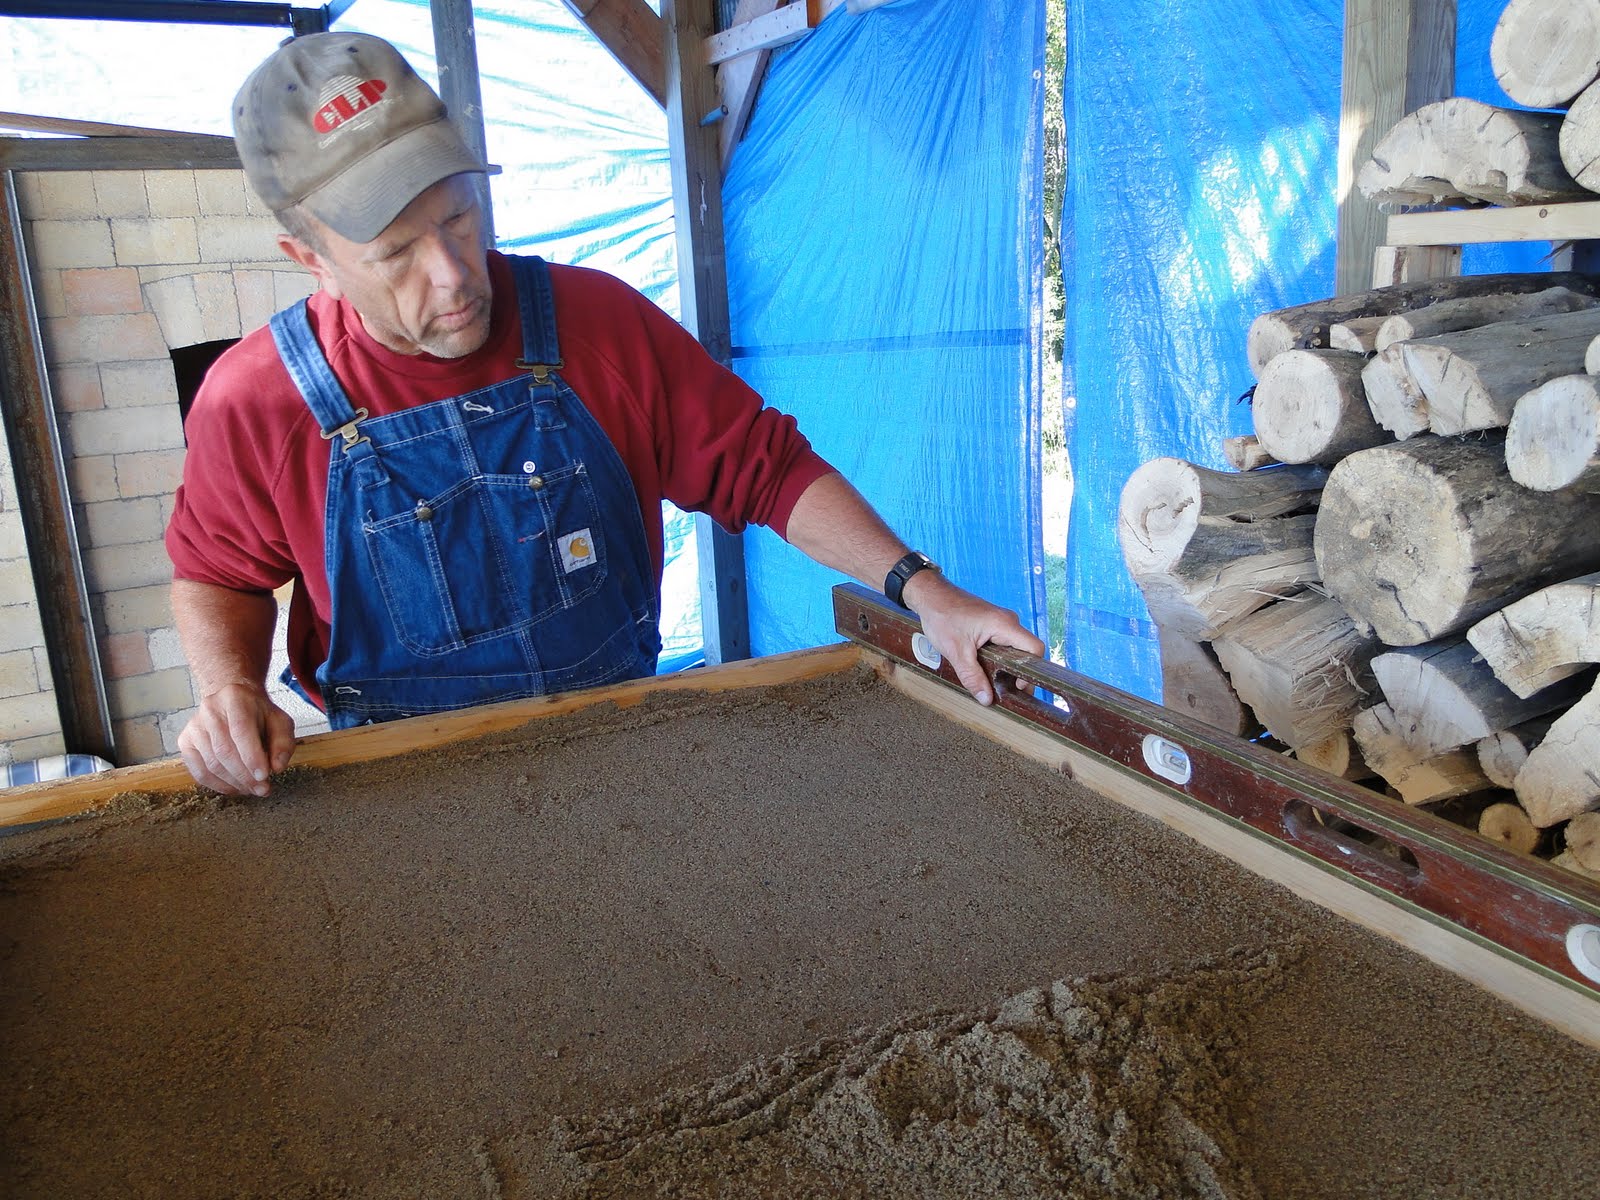
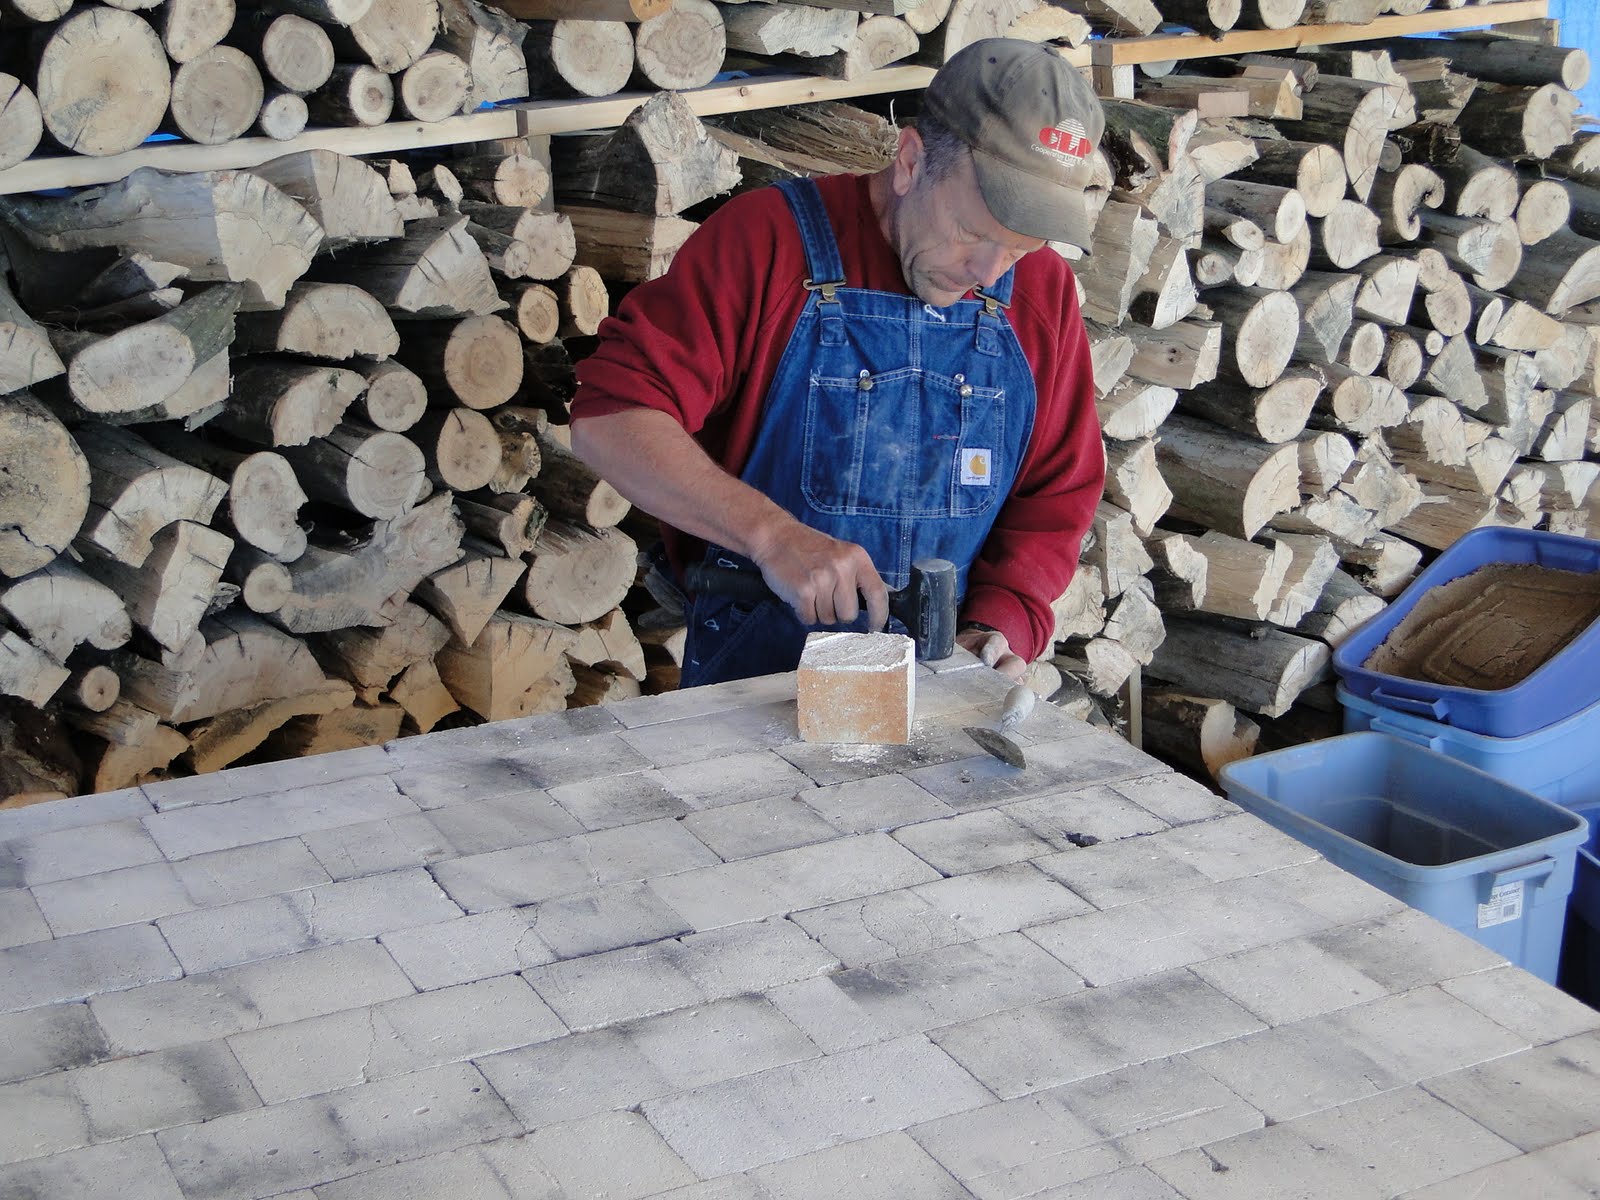
Once the clay was ready, we spread a layer of sand to level the next layer of insulating fire bricks. On top of the insulating fire bricks, we placed a layer of fire brick
 .
.
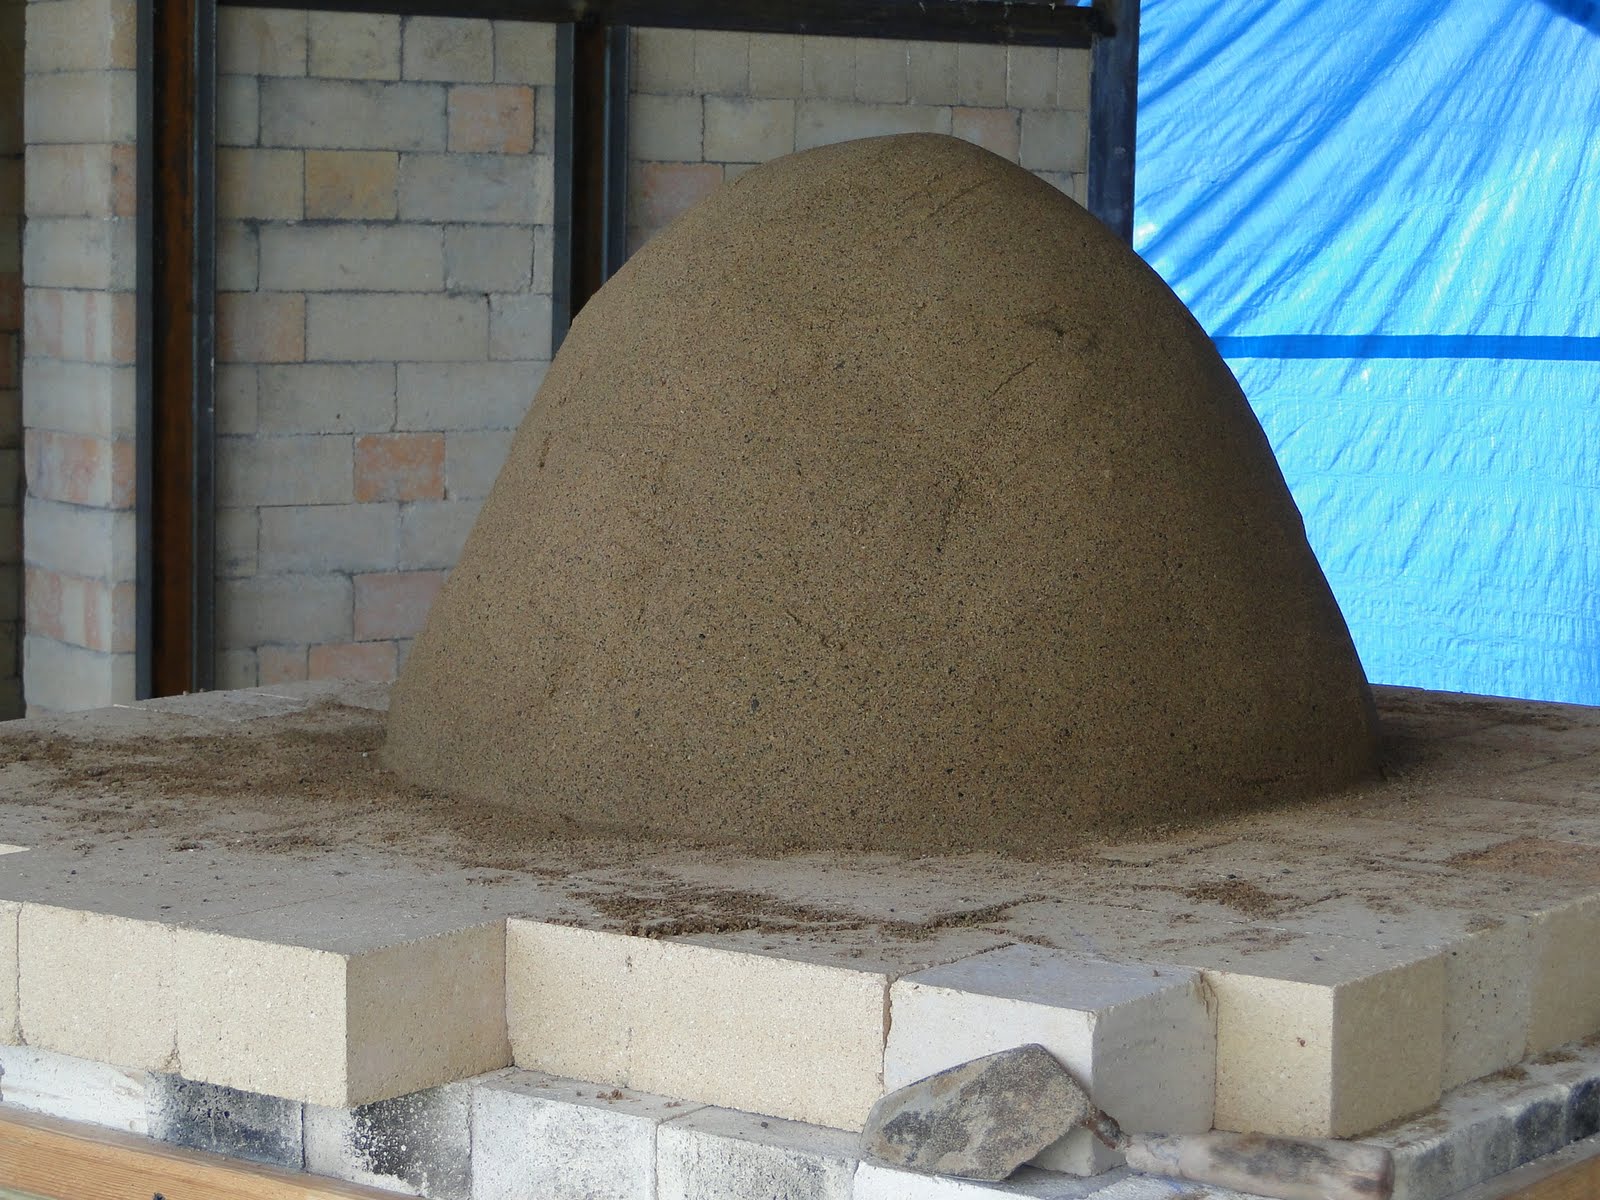
Next, a dome of sand is placed on top of the fire bricks to create a mold for the oven shape
 .
.
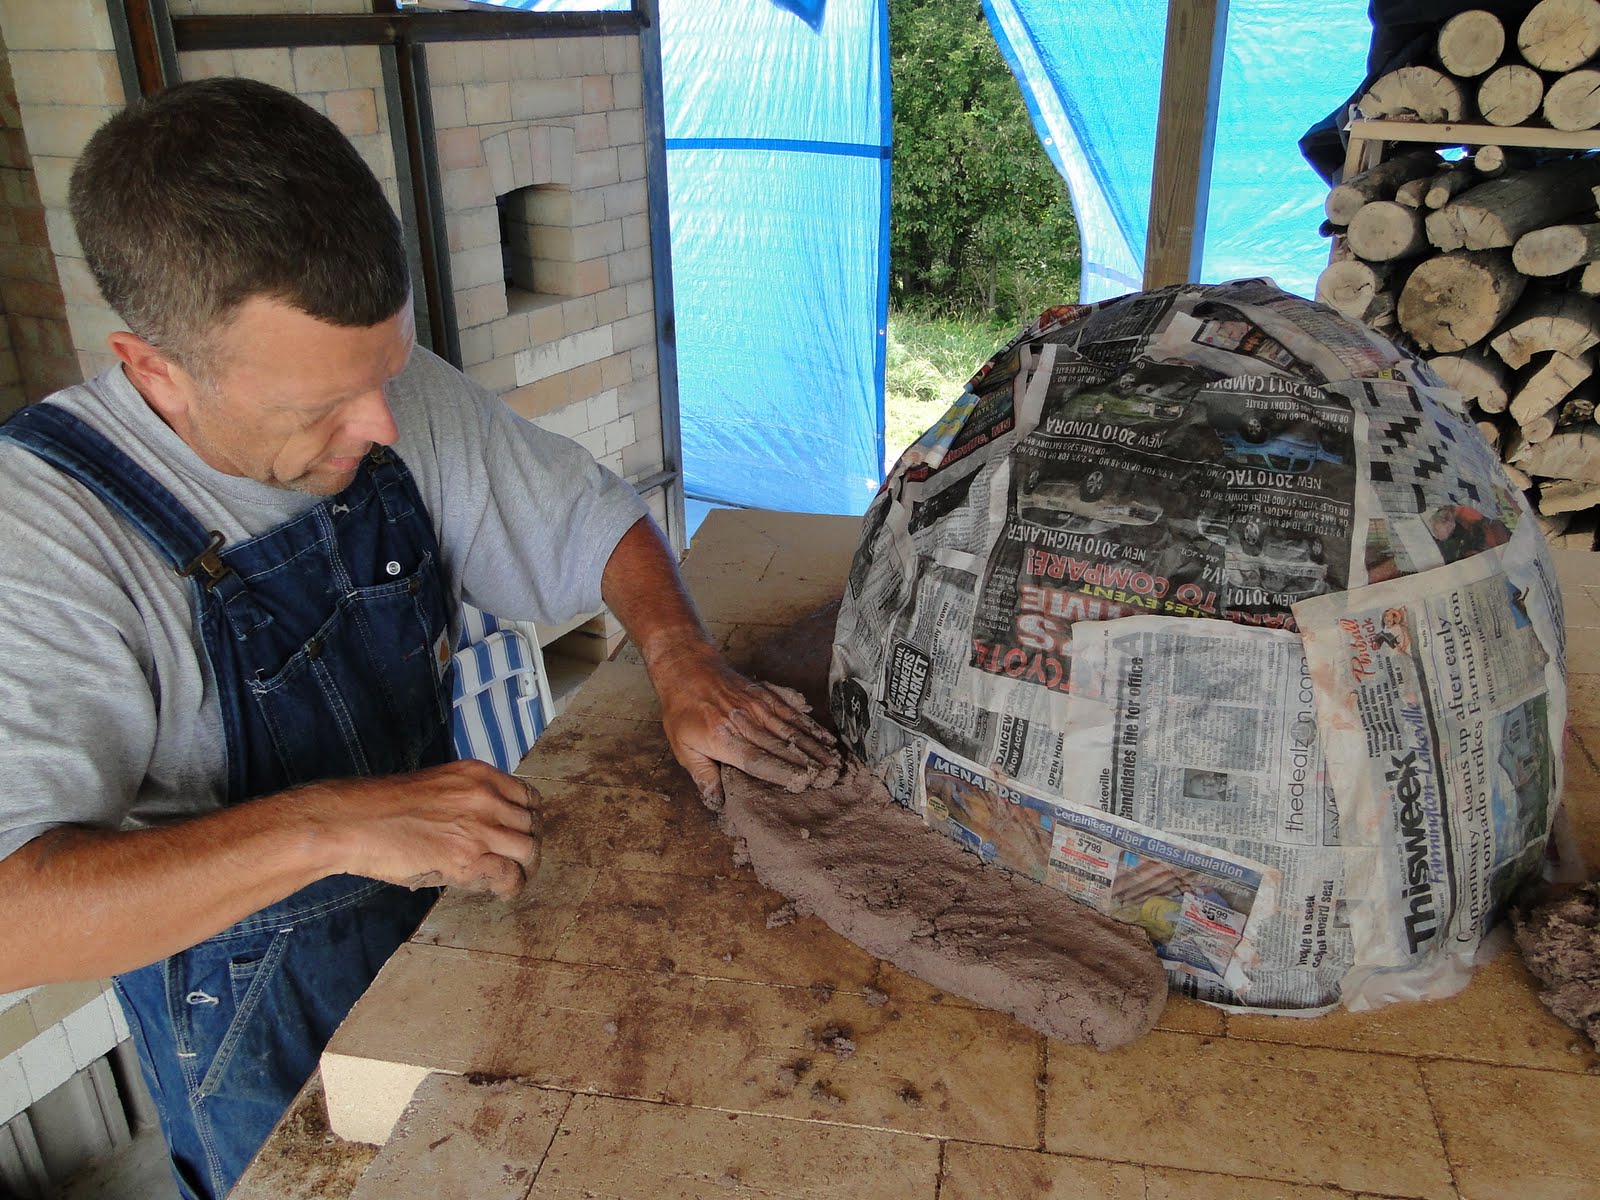
On a tarp we mixed sand with the mud (clay) we moistened earlier.
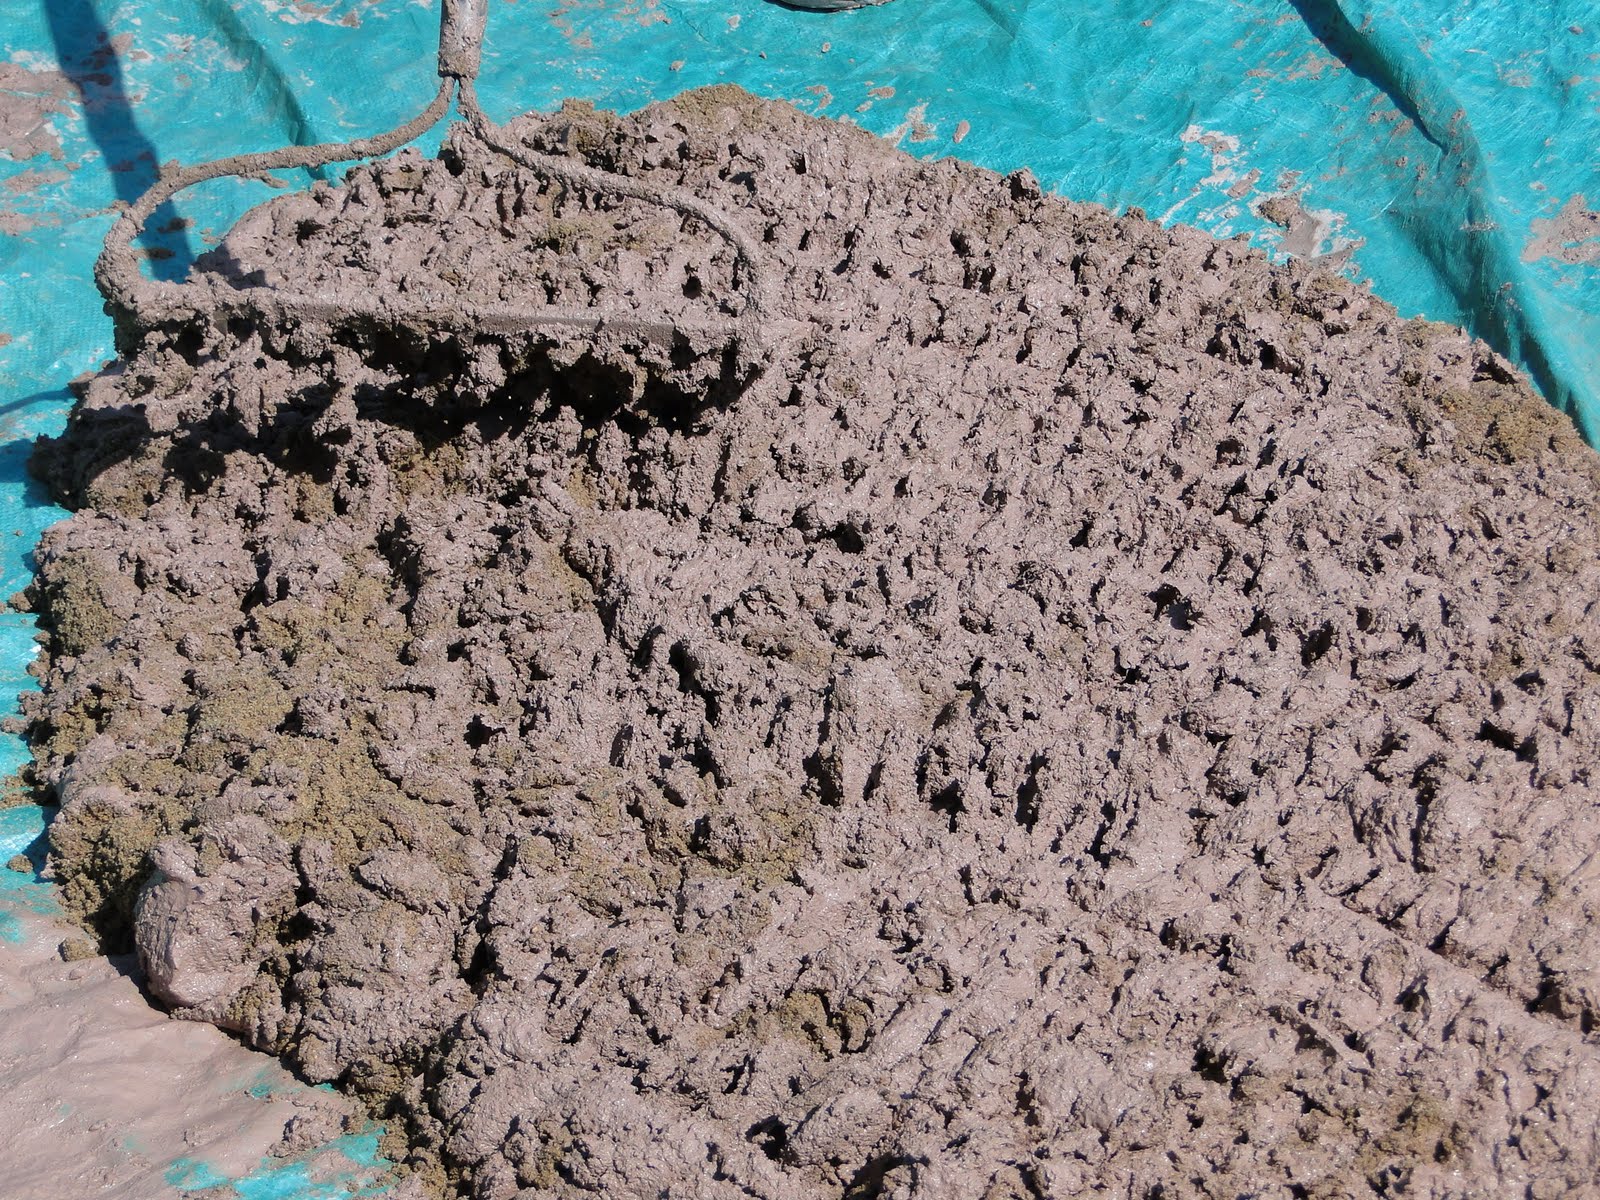
A four inch layer of the sand/clay mixture is pressed over the sand mold.
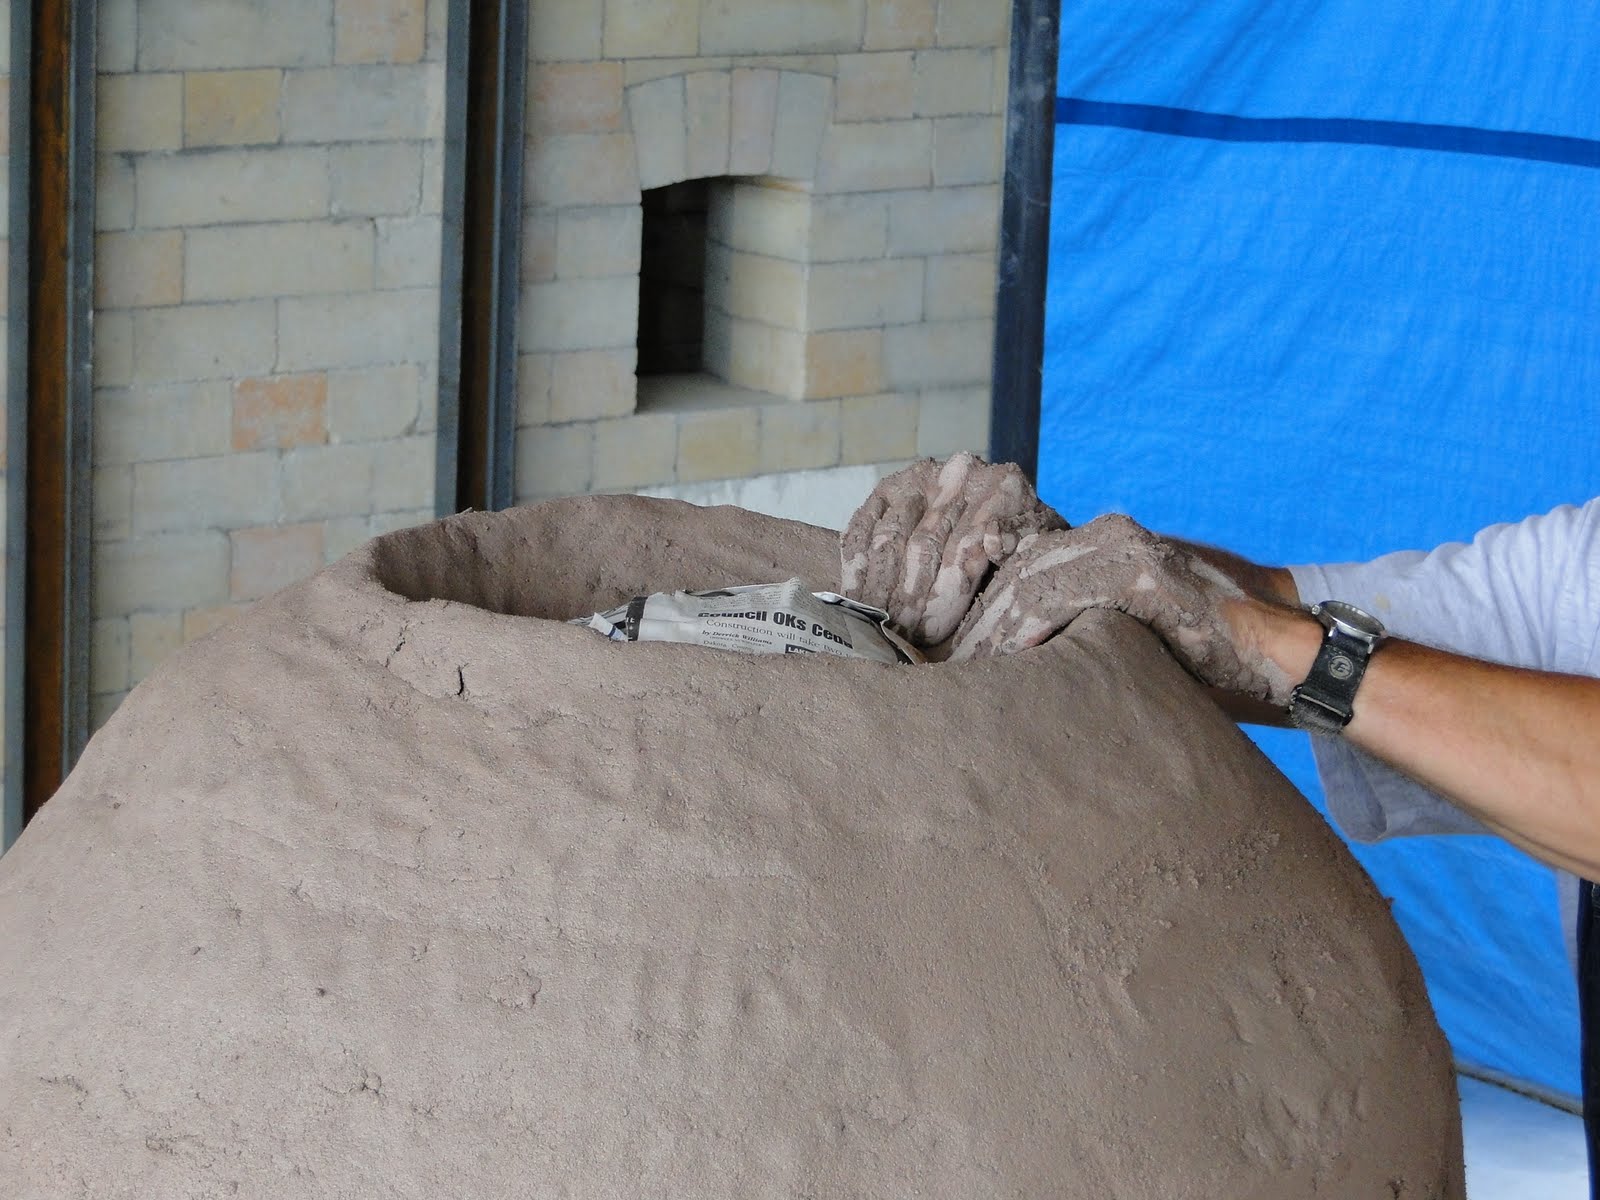
And that’s where the weekend ended. This layer on the oven will dry slowly for a while. Next it will receive a layer of clay and insulating material and followed by a third layer of clay. Check back in a couple weeks for the next segment of construction.